Part 2: Creating a CMS
Before we start, why add content management system (CMS) features to Laravel Nova instead of using a pre-built popular CMS? To be honest, not only can building CMS functionality be time-consuming, but there are plenty of excellent CMS options already available. There are stand-alone CMSs like WordPress, CMSs built on Laravel, and PHP CMS packages that work alongside your Laravel web app. We’ll explore how to select an appropriate CMS in a later post.
Even with excellent CMS options (and I develop in WordPress and CraftCMS all the time), you might consider building your own lightweight CMS within a Laravel project using Laravel Nova if:
- You’re building a web app that needs only light content management
- You don’t want to invest the time to learn a new CMS
- Content management is not the primary purpose of your website and you know you won’t need more than a few key features in the future
If this fits your needs, use Nova and keep it simple. It’s not that you can’t build a heavy-duty CMS using Laravel; it would just take a lot of effort, and Nova isn’t specifically designed to be a CMS framework.
Let’s take a look into how to quickly put together a lightweight CMS using Laravel Nova by creating a simple blog. Users write posts, and posts have various field types associated with them. We’ll look into the following Nova topics:
You may follow along every step by cloning my repo and checking out the part-1 branch, or you can check out the part-2 branch to view the final code. If you use the code base, you will still need a Nova license to get it working.
Resources
At the heart of Laravel Nova are resources. A resource corresponds to a Laravel model and makes that model accessible to the admin panel. For example, in Part 1 we saw that Nova ships with a user resource called app/Nova/User.php.
Let’s add a Post model in Laravel and an underlying migration to create the database columns a post needs. From the command line, run:
php artisan make:migration create_posts_table --create=posts
Edit the new migration file found in database/migrations/. Let’s add some columns to the posts table.
Schema::create('posts', function (Blueprint $table) {
    $table->increments('id');
    $table->unsignedInteger('author_id')->index();
    $table->char('title');
    $table->char('slug')->index();
    $table->text('content');
    $table->char('featured_image')->nullable();
    $table->dateTime('published_at');
    $table->softDeletesTz();
    $table->timestamps();
});
We can now run our migration and add a model.
php artisan migrate
php artisan make:model Post
Let’s add a relationship between User and Post. In app/Post.php add:
public function author()
{
    return $this->belongsTo('App\User');
}
and in app/User.php add:
public function posts()
{
    return $this->hasMany('App\Post');
}
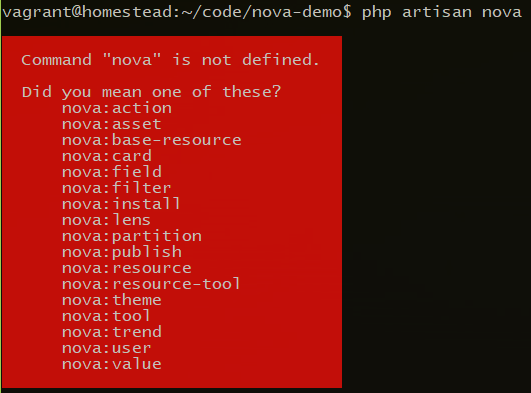
Now that we have Users, Posts, and a two-way relationship between them, we can bring them into Nova using Nova Resources. Nova provides various artisan commands to give you scaffolding. Here are the commands available today:
To generate a resource type:
php artisan nova:resource Post
This creates a file at app/Nova/Post.php. If you open it up you’ll notice that the first property is:
public static $model = 'App\Post';
The scaffolding guessed (correctly) that you would like the Nova Post resource to bind to the Laravel Post model, which is correct. This is where you would change the model binding if your model had a different name. Looking at the rest of the file we see:
public static $title = 'id';
Showing the ID as the post preview in the admin isn’t very useful, so let’s change it to public static $title = 'title' so it uses the title column from the database instead.
Below title we see:
public static $search = [
    'id',
];
This is an array of all the fields that will be searchable in Nova. As an admin we might search for a post using its title or URL slug, so let’s change it to:
public static $search = [
    'title',
    'slug',
];
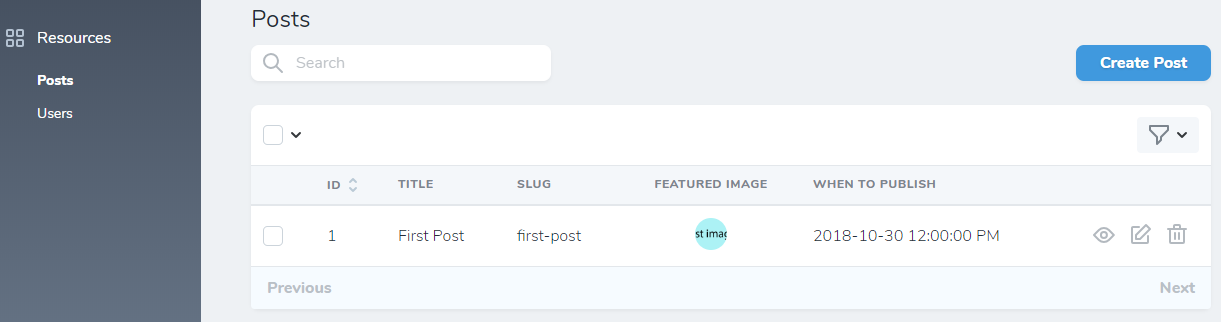
Below $search are functions for fields, cards, filters, lenses, and actions. We’ll come back to these later. For now, let’s make sure the resource is loading in Nova by refreshing the Nova dashboard. We now see Posts under Resources with a button for creating Posts.

Fields
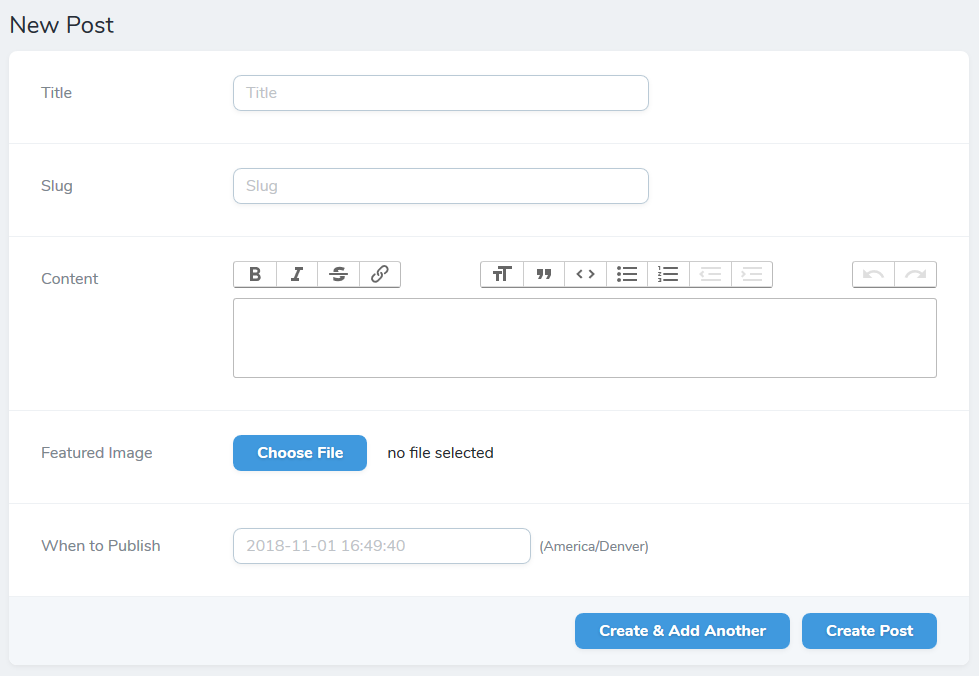
If we click on Create Post we aren’t able to add any fields to a new post yet. The Nova resource fields function allows us to choose which Eloquent fields are available in the admin panel and how we are allowed to interact with them.
For example, as an author we’d really like to be able to set the title, slug, content, featured_image, and published_at date for a post. Those fields become available by using Nova’s field types. You may create your own or use the various field types packaged with Nova. Let’s add the following to our Nova Post fields function:
return [
    ID::make()->sortable(),
    Text::make('Title'),
    Text::make('Slug'),
    Textarea::make('Content'),
    Image::make('Featured Image'),
    DateTime::make('Published At'),
];
At the top of app/Nova/Post.php be sure to import all the used Fields classes:
use Laravel\Nova\Fields\ID;
use Laravel\Nova\Fields\Text;
use Laravel\Nova\Fields\Image;
use Laravel\Nova\Fields\DateTime;
Returning to the browser click Create Post, fill in the fields, and click Create Post. Nova conveniently opens up a error modal at the bottom of the screen explaining what is wrong.
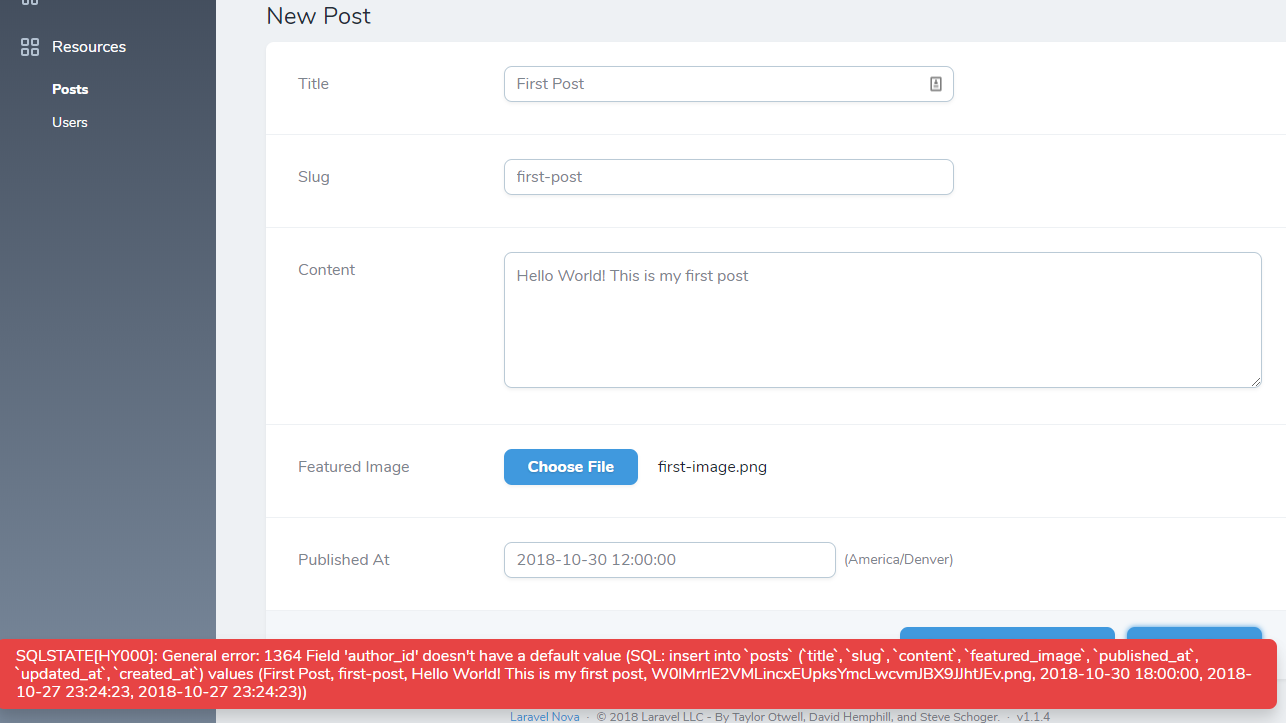
In this case we see that author_id didn’t get a value, which makes sense seeing that we didn’t expose an author field to the Post resource. We also see that Nova was smart enough to convert the Title Case field names to their snake cased names in the database. If we wanted to change the field name presented to the user we could pass in a second parameter into the make() method for that field specifying the database column name. For example, we could change DateTime::make('Published At') to DateTime::make('When to Publish', 'published_at').

Let’s go back and fix the author_id error. Nova uses Eloquent’s event which means we can hook into these events to set additional field data. Open up app/Post.php. Add use Illuminate\Database\Eloquent\Model; and extend the boot function:
protected static function boot()
{
    parent::boot();
    static::creating(function ($post) {
        if ( !$post->author_id ) {
            $post->author_id = Auth::id();
        }
    });
}
Now when a Post is being created, the author_id will be set to the ID of the logged in User who is creating the Post if it’s not explicitly set.
While we’re in app/Post.php let’s also cast published_at as a datetime so Eloquent can handle the transition from database datetime to datetime object behind the scenes. We do this by adding:
protected $casts = [
    'published_at' => 'datetime',
];
The final app/Post.php looks like this:
<?php

namespace App;

use Illuminate\Support\Facades\Auth;
use Illuminate\Database\Eloquent\Model;

class Post extends Model
{
    protected $casts = [
        'published_at' => 'datetime',
    ];

    protected static function boot()
    {
        parent::boot();
        static::creating(function ($post) {
            if ( !$post->author_id ) {
                $post->author_id = Auth::id();
            }
        });
    }

    public function author()
    {
        return $this->belongsTo('App\User');
    }
}
Let’s go back and add a post in Nova. This time we see the post was created.
If for some reason the image is not showing, then your Laravel install is probably not yet set up with image drivers. If you would like to use your local driver, run php artisan storage:link. If you’re on Windows, you may need to look into a work-around for symlinks. For this demo I’m using the AWS s3 driver which means images will work on any OS, though s3 configuration is beyond the scope of this post.
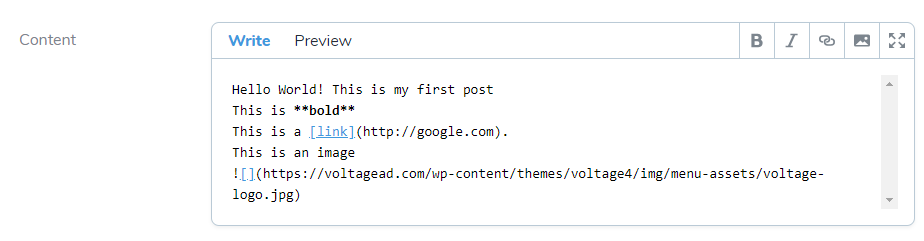
There are several improvements we can make to the Nova post resource. First off, as a content author you might want something a little more fancy than a textarea to type into. Nova ships with a Markdown field and a Trix field. For Markdown be sure to include use Laravel\Nova\Fields\Markdown; and change the field to Markdown::make('Content').
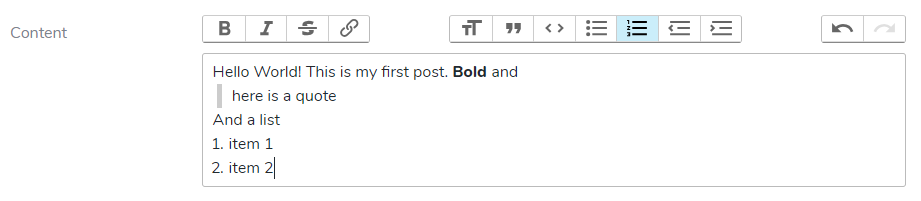
If you want even more control, try the Trix field. Include use Laravel\Nova\Fields\Trix; and change the field to Trix::make('Content')
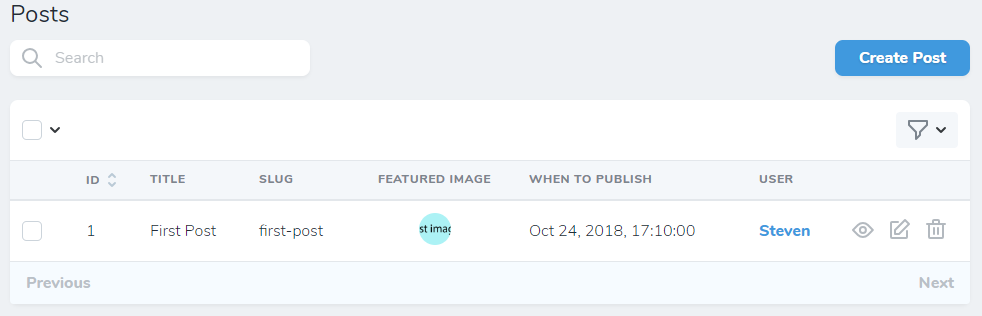
Moving on, the When to Publish field isn’t in the format I’d like, so we can update published_at to
DateTime::make('When to Publish', 'published_at')->format('MMM DD, YYYY, HH:MM:SS'),

It would be nice to see the author while editing the post. We can use a Nova relationship field for this. Include use Laravel\Nova\Fields\BelongsTo; and add BelongsTo::make('User', 'author'), to the post fields array.

Next, if the slug is going to be used to generate a URL for the post, it needs to be unique. We can do this using Nova validation. This will prevent two posts from having the same slug.
Text::make('Slug')->creationRules('unique:posts,slug'),
We could also have forced slugs to be unique by using a unique index on the database column in our posts migration.
Let’s continue to limit the input allowed in each field. We can use all of Laravel’s validation rules with Nova resource fields. Our fields function for posts might end up like this:
return [
    ID::make()->sortable(),
    Text::make('Title')
        ->rules('required', 'max:80'),
    Text::make('Slug')
        ->rules('required', 'alpha_dash', 'max:80')
        ->creationRules('unique:posts,slug'),
    Trix::make('Content')
        ->rules('required'),
    Image::make('Featured Image')
        ->disk(env('FILESYSTEM_DRIVER'))
        ->prunable(),
    DateTime::make('When to Publish', 'published_at')
        ->rules('required')
        ->format('MMM DD, YYYY, HH:MM:SS'),
    BelongsTo::make('User', 'author'),
];
If you violate the validation, Nova gives you a nice error message.

Resource Listing
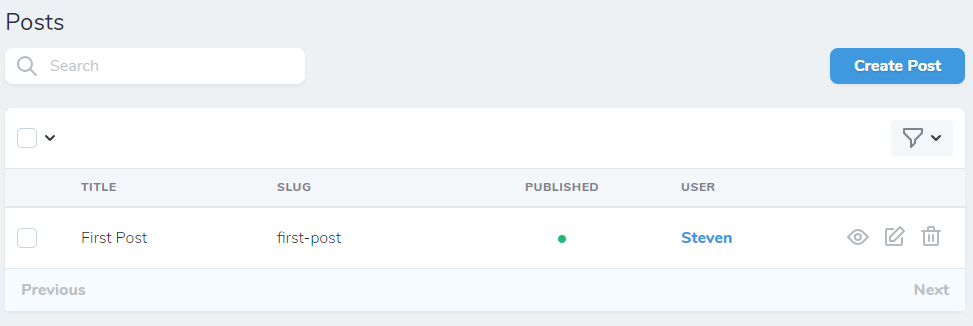
Let’s look at the Posts listing page.
Nova allows us to customize which fields appear in this high-level list. Maybe we don’t care to see the ID or the featured image in this listing. We can remove them by adding ->hideFromIndex() to each field to hide in the post fields() array. For example:
ID::make()->hideFromIndex(),
Nova provides several methods for showing/hiding fields in different parts of the admin panel.
Instead of showing When to Publish on the post listing page, we might want to just show whether a post is published or not. We can accomplish this with a computed field. Just like any other Nova field, let’s import use Laravel\Nova\Fields\Boolean; into the post resource and add the following:
Boolean::make('Published', function () {
    return now()->gt($this->published_at);
}),
Thanks to Laravel, published_at is already treated as a Carbon object. Now we can add ->hideFromIndex() to published_at and our listing page is looking pretty good.
Front End
Let’s finally get our post data showing on the front end! First, we’ll set up a route to match URLs to post slugs. In routes/web.php add this line to the very bottom:
Route::get('{slug}', 'PostController@show');
This allows Laravel to attempt to match all other routes first. Assuming nothing matches, Laravel will try to match the URL to a post slug. Starting in Nova v1.0.9 Nova routes are registered after your application’s routes, which means the routes /nova will now match PostController@show. To prevent conflicts, let’s move Nova to /nova/admin. Open config/nova.php and update
'path' => '/nova/admin',
Now when accessing Nova be sure to navigate to /nova/admin instead of just /nova.
Returning to the front end, let’s generate a controller:
php artisan make:controller PostController
Write a function that takes the slug, finds the matching post, and passes the post to a view.
<?php

namespace App\Http\Controllers;

use Illuminate\Http\Request;
use Exception;
use App\Post;
use Storage;

class PostController extends Controller
{
    public function show($slug)
    {
        $post = Post::where('slug', $slug)->first();
        if ($post) {
            $imagePath = Storage::url($post->featured_image);
            return view('post', [
                'post' => $post,
                'imagePath' => $imagePath,
            ]);
        }

        // No match was found
        abort(404);
    }
}
Create a view at resources/views/post.blade.php that outputs the post data. I added some CSS in the head to make our example look a little nicer.
<!doctype html>
<html>
    <head>
        <meta charset="utf-8">
        <meta http-equiv="X-UA-Compatible" content="IE=edge">
        <meta name="viewport" content="width=device-width, initial-scale=1">

        <title>Nova Demo</title>

        <!-- Fonts -->
        <link href="https://fonts.googleapis.com/css?family=Nunito:200,600" rel="stylesheet" type="text/css">

        <!-- Styles -->
        <style>
            html, body {
                background-color: #eee;
                color: #636b6f;
                font-family: 'Nunito', sans-serif;
                font-weight: 200;
                height: 100vh;
                margin: 0;
            }

            h1 {
                font-size: 48px;
            }

            blockquote {
                font-style: italic;
            }

            .hero img {
                width: 100%;
            }

            .wrapper {
                max-width: 800px;
                margin: 0 auto;
                padding: 20px 3%;
                background-color: #fff;
            }

        </style>
    </head>
    <body>
        <div class="wrapper">
            <div class="hero">
                @if ( $post->featured_image )
                    <img src="{{ $imagePath }}">
                @endif
            </div>
            <h1>{{ $post->title }}</h1>
            <div class="content">
                {!! $post->content !!}
            </div>
            <p>Published by {{ $post->author->name }} on {{ $post->published_at->format("M j, Y") }} at {{ $post->published_at->format("g:ia") }}</p>
        </div>
    </body>
</html>
Navigate to your slug (in my case http://nova-demo.test/first-post).
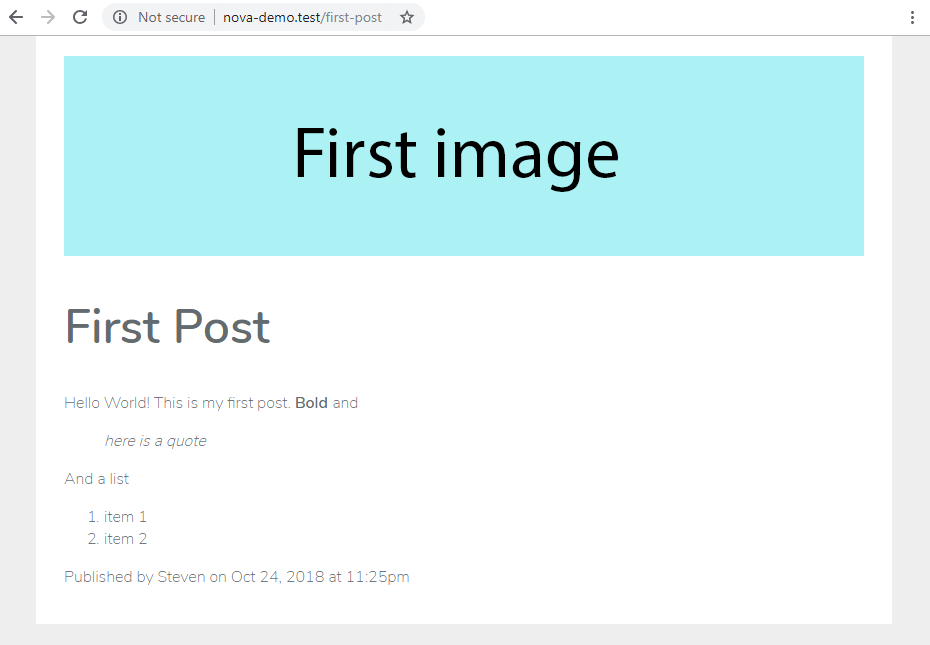
It works! We now have a (very) lightweight CMS on our Laravel web app.
Authorization Policies
Authorization policies give us control over what users are and are not allowed to do. To demonstrate policies, let’s say that we have two types of users: admins and authors. We would like the admins but not the authors to be able to change ownership of any blog post.
To accomplish this start by adding a new field to the user table called role.
php artisan make:migration add_role_to_users_table --table=users
In the up function add:
$table->enum('role', ['admin', 'author'])->default('admin');
and in down add:
$table->dropColumn('role');
Now run the migration:
php artisan migrate
Go back to Nova and find your user resource. Did you notice there is no new field for role? Let’s add the field to the resource by editing app/Nova/User.php. Include use Laravel\Nova\Fields\Select; and add to the fields array:
Select::make('Role')->options([
    'admin' => 'Admin',
    'author' => 'Author',
]),
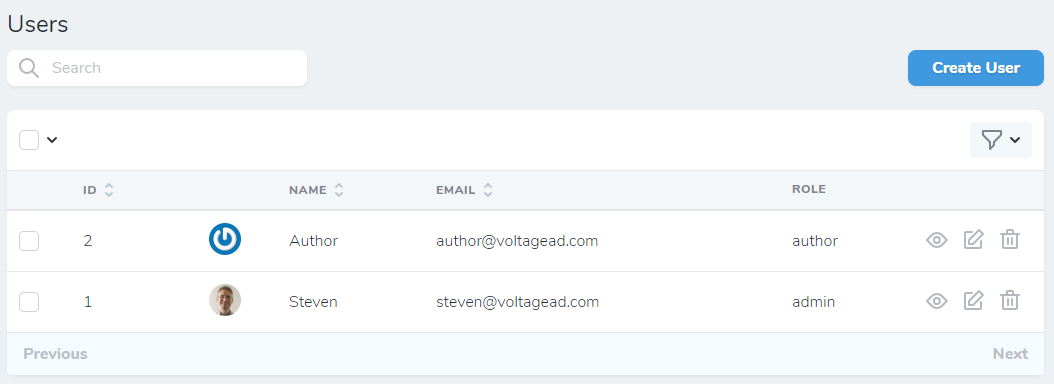
Now we can set a role for each user.

At this point your user should be an admin because we ran the migration with the default value for role being admin. Let’s create a second user who is an author. Click on Users > Create User. Fill in a name, email, and password, and be sure to select Author before clicking Create User. Your user listing page should look something like this:
As an example, create a blog post and assign the author to be this second user. Now let’s create an authorization policy that only allows authors to modify their own blog posts, but allows admins to modify any blog post. Start by creating a policy on the command line:
php artisan make:policy PostPolicy --model=Post
This creates the file app/Policies/PostPolicy.php. Open the file. The PostPolicy class already has the following functions stubbed for us: view, create, update, delete, restore, and forceDelete. In each function the user will not be allowed to perform that action unless true is returned.
Update create to always return true;. Update delete, restore, and forceDelete to return $user->role == 'admin';, so only admin users can perform those tasks. Lastly, change the view and update functions to return true for admins and for authors if the post belongs to the author.
return $user->role == 'admin' || $post->author->id == $user->id;
Now we need to register the policy by editing app/Providers/AuthServiceProvider.php. Import:
use App\Post;
use App\Policies\PostPolicy;
and add:
Post::class => PostPolicy::class,
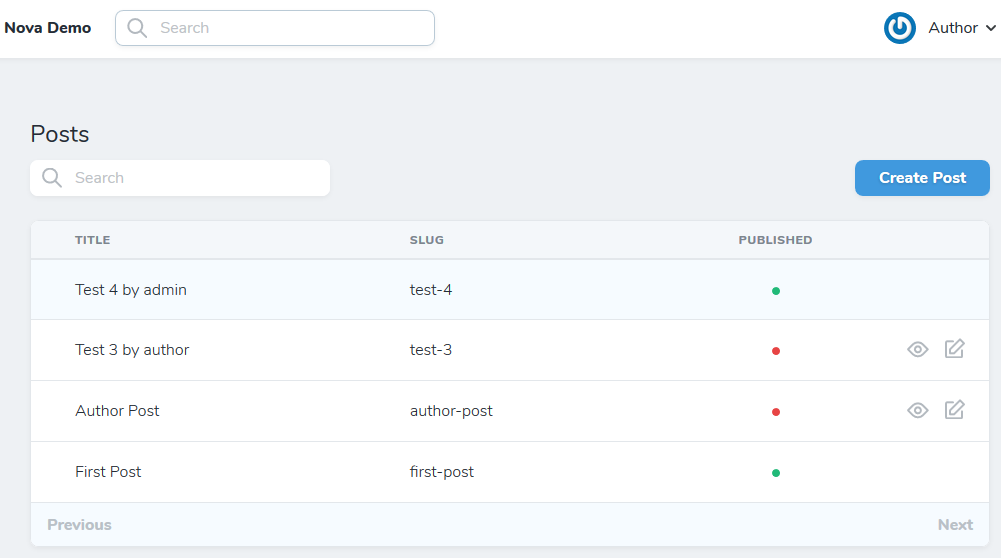
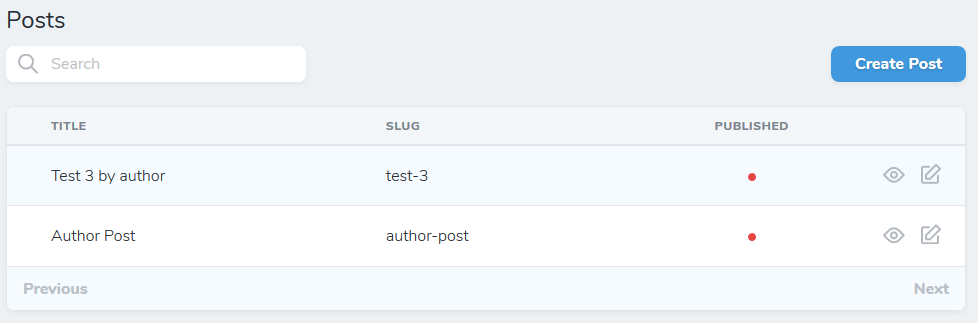
to the $policies array. Now when you refresh the posts page as the “author” user, you no longer have the option to edit posts that are not yours. I added one more post for each user to get this result:
On the post listing page we still see everyone’s post even though the view buttons for other authors’ posts are gone. We can remove those listings by copying the indexQuery function from app\Nova\Resource.php over to app\Nova\Post.php. Change it to limit the query to posts belonging to the current user if the user is an author like so:
public static function indexQuery(NovaRequest $request, $query)
{
    if ( $request->user()->role == 'admin' ) {
        return $query;
    } else {
        return $query->where( 'author_id', $request->user()->id );
    }
}
Now admins can still see all posts but authors can only see their own posts.
Let’s make one more update to demonstrate authorization. As an author, if you edit your own post you are asked to choose a “User” or author and are allowed to choose someone other than yourself. We’d like to only allow admins to change the author of a post. Edit the post resource and change the author relationship to say:
BelongsTo::make('User', 'author')
    ->canSee(function ($request) {
        return $request->user()->role == 'admin';
    }),
This will make the author relationship visible only to admins. As an author the field is missing and sets to the logged in user because of the changes we made to app/Post.php earlier. Authors are no longer able to reassign the author of a post.
If you’d like to test your understanding of policies, try adding a policy that restricts authors to viewing and editing only their own user.
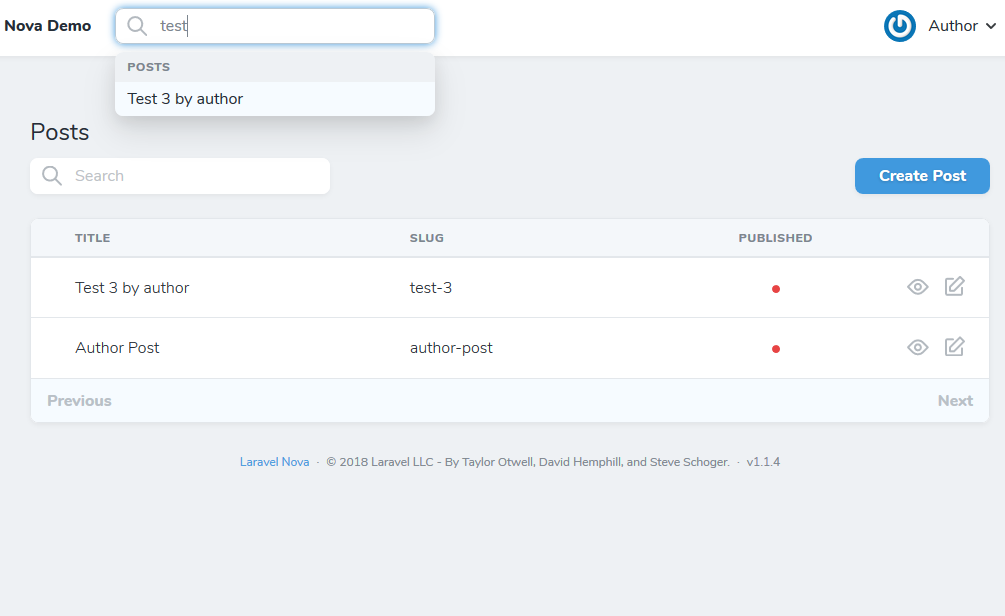
Search
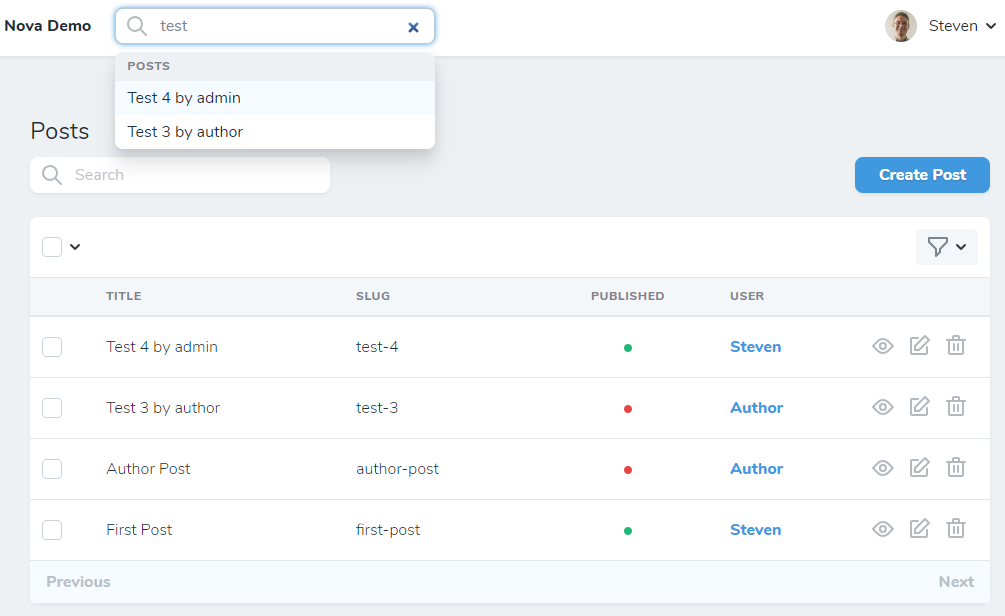
Thanks to Nova, there’s nothing for us to change at this point for search. Nova searches work off the $search array for each Nova resource and shows matches using each resource’s $title field. Since we used Laravel policies, any resource that we are not allowed to see will automatically be removed from the search. For example, this is what search finds for the author user:
compared to the full results found for the admin:
In the next post titled Part 3: Creating a CRM we’ll look into Nova filters, lenses, actions, and metrics. Using this knowledge we’ll create a lightweight customer relationship management system.